
Why a P-valve, and which one?
Choosing a P-valve
Choosing a P-valve is tricky, because there are many different models on the market.
At Scuba Support we mostly work with the Halcyon Streamline and the Dive Elements balanced P-valves. They have a relatively low cracking pressure for the one-way valve when you start to pee, which prevents pressure building up in the hose and the catheter.
These models can also be shut off, which is a bit more comfortable in use.
Balanced or unbalanced?
Balanced means a second one-way valve has been fitted to vent the hose.
As you descend, the increasing ambient pressure reduces the volume in the hose and a vacuum can form, which is unpleasant.
So for diving you are better off with a balanced P-valve.
If you stay at the surface, an unbalanced P-valve will also do.
How to use a P-valve
The P-valve, also called pee valve or wee valve, is the answer for divers who want to make longer dives or wear their drysuit for a long time.
There are many other sports where a P-valve helps too, such as kayaking and sailing.
Condom catheters are also used in aviation sports such as gliding, hang gliding and paragliding. They are then usually connected to a fluid reservoir or routed outside with a hose.
P-valves are also used in wetsuits for hygiene reasons, because a wetsuit you pee in starts to smell and can cause skin irritation.
The P-valve is a bulkhead fitted in the leg of the suit, with a one-way valve and a hose that you connect to a condom catheter or a She-p.
When you need to pee, open the P-valve knob (if fitted) and you can go.
When you are done, it is advisable to close the knob again.
If the one-way valve does not close properly, for example due to dirt, no water can flow back in.
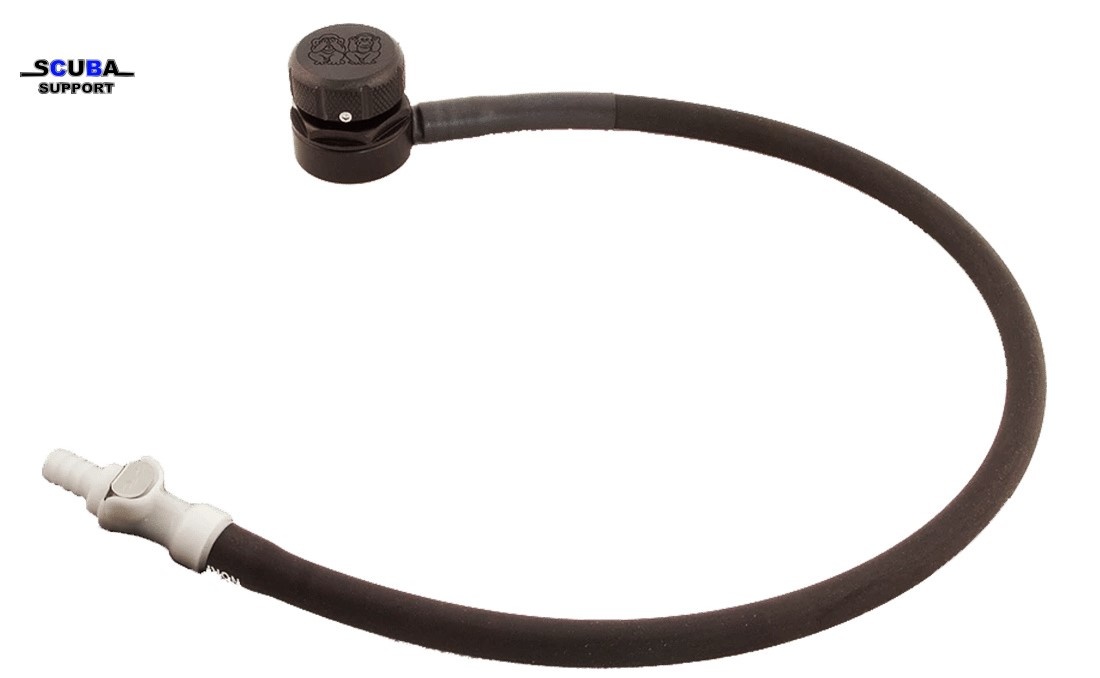
To make connecting easier, you can use a quick disconnect.
It is best to use one that shuts off the fluid when you disconnect it. Otherwise urine can run back from the hose into your suit when you disconnect.
What is a condom catheter?
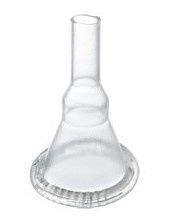
A condom catheter is a condom with a hose spout and an adhesive band to attach it watertight.
There are also condom catheters without adhesive, but they do not work leak-free for everyone.
Catheters are available in different brands, models and sizes. Popular ones are the Ultraflex and the Wide Band, the Wide Band having stronger adhesion.
They are available in these sizes: 25 mm, 29 mm, 32 mm, 36 mm and 42 mm. Make sure you choose the right size and get good advice on it.
Any adhesive residue left after removing the condom catheter is best removed with alcohol.
What is a She-p?
The She-p is a catheter for women. It is attached with skin adhesive and has a hose spout to connect it to the P-valve hose. See the She-p website for more information.
How to clean it
After every dive, flush the P-valve, preferably with warm water with a little Dettol disinfectant. A spray bottle is handiest for this.
Every 10th use, also flush the hose with warm (about 60 °C) water with a dash of cleaning vinegar (about a 15% solution), then rinse with clean warm water.
The one-way valve sometimes sticks if you haven't used the P-valve for a while. Flush it with warm water and a little washing-up liquid first.
Fitting a P-valve
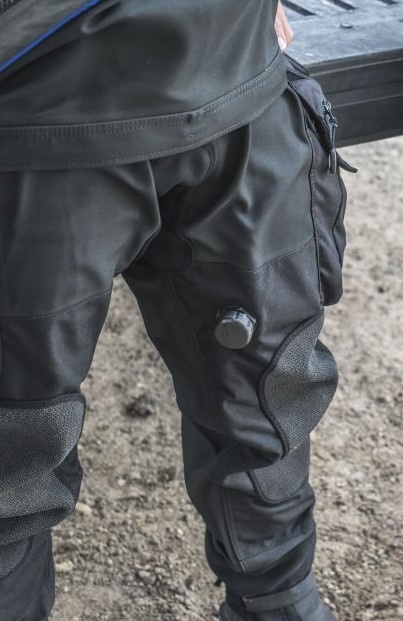
There are several ways to fit a P-valve. The most common are gluing in the P-valve itself and mounting it on glued-in rubber patches.
Gluing in the P-valve
Before you start, decide where the P-valve should go. The most common location is on the left leg, about one third of the way between crotch and knee.
Don't place it too far to the front of the thigh, or it will easily snag on lines and the like. But not too far between the legs either, or it will rub when you walk.
Once the right spot has been chosen, a hole is made there for the P-valve. Check the manual of the model for the hole diameter.
Then roughen the surfaces of the P-valve to be glued and degrease them and the suit around the hole with acetone.
Coat both roughened parts with a layer of Aquasure and fit the P-valve in the suit. Make sure the hose on the inside points in the right direction. Let it dry for at least 12 hours.
This method gives a very solid installation, but the P-valve can no longer be removed without breaking it.
Mounting with rubber patches
Another option is to glue two rubber patches onto the suit, one on the inside and one on the outside. Use a two-component contact adhesive for these patches, such as Aquabond or Tiptop SC4000. These also need to be roughened and degreased with acetone first.
The P-valve is then mounted in them and seals by clamping onto the rubber. With this method there is a chance it can work loose, so always check it is tight before you put on the suit.
Of course you can also come to Scuba Support to have a P-valve professionally fitted in your drysuit. Feel free to contact us if you have any questions.
Download the installation manual for the Halcyon Streamline Balanced P-valve